ANIMATE Plugin Tutorial
ANIMATE by Mastering the Mix was designed to be your secret weapon in a wide range of mixing and sound design scenarios. In this ANIMATE plugin tutorial, we show you how it helps inject life into your mixes in a precise, versatile and colorful way.
You’ve got 4 different “movement modes” or modules to process your sound: Expand, Punch, Ignite and Grow. Each has individual frequency control and mid/side functionality, so you’ll get your music jumping out of the speakers precisely how you want.
How to Improve Your Mixdown with ANIMATE
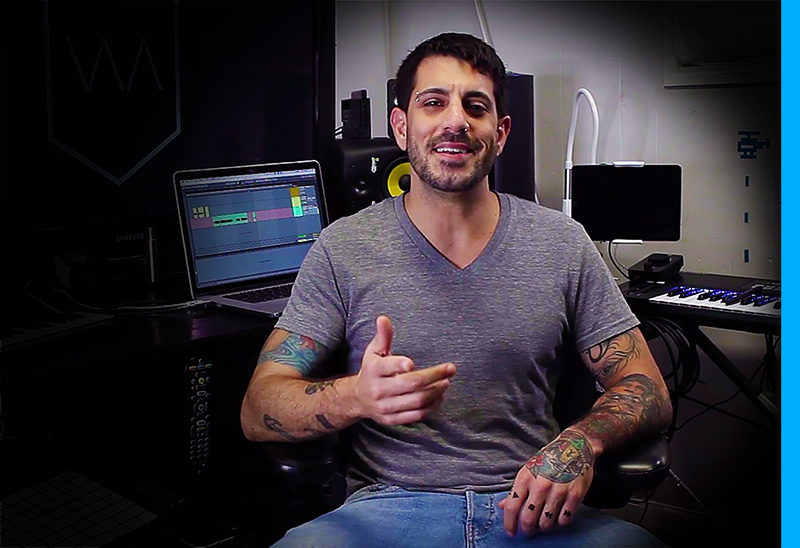
We’ve got BigJerr on the scene doing an overview of the ANIMATE plugin, from Mastering the Mix. In this tutorial, he digs into a track of his to show you exactly how he’s using the modules:
- Punch to add some mono impact to the mid signal of his snare drum.
- Ignite to add some frequency specific distortion to his bass.
- Grow to add some Hass effect style stereo width to his piano to layer up with the main super saw synth.
This plugin will be a solid fit if you’re doing mixing or sound engineering and you want control over the stereo width of your sounds, distortion or upwards expansion only on certain frequency ranges or parts of the signal that exceed a threshold, and dynamic control over stereo field.
Skip to Somthin’
0:00 Intro
0:26 What is ANIMATE?
0:44 The Four Modules
0:59 What are you going to show me?
1:03 Main Control Overview
1:06 The Filter
1:21 Threshold Control
1:30 Amount Control
1:42 Stereo and Mid Side Control
1:35 Input/Output Section
2:02 Speaker Animation
2:10 Movement Mode Selector
2:17 Three Ways To Improve Your Mix Down
2:39 Song Preview
3:04 Punch Mode
3:11 Before Punch
3:31 How Punch Can Come To The Rescue
3:48 Punch Sensitivity Control
4:02 Punch Attack and Release Control
4:12 Solo Button & Bypass Punch
5:24 After Punch
5:37 Ignite Mode
6:19 Ignite Bass Bite Preset
7:00 After Ignite
7:25 Grow Mode
7:35 Use Grow for Stereo Widening
8:21 How to Use Grow
9:00 After Grow
9:29 Outro
See our full privacy policy.


