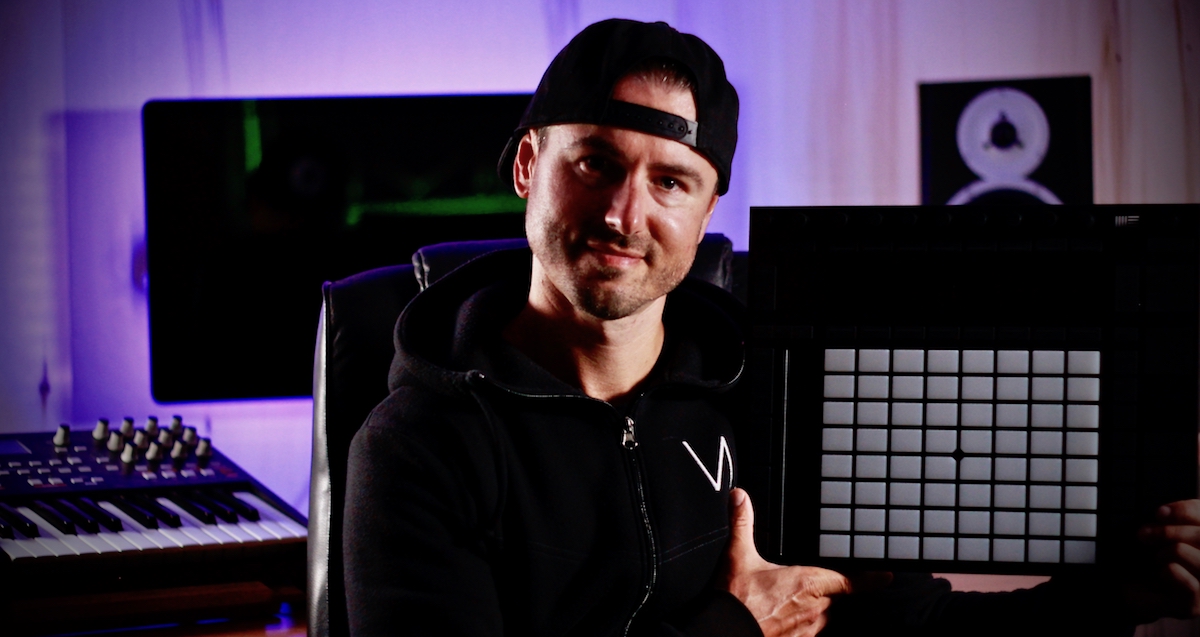
How to repitch and tune drums, edit them with the Push 2 controller, and make them tight and punchy in Drum Racks
Sign up for our free Ableton Live 10 Course
- Get up to speed with Live 10 and stay ahead of the game.
- Learn every new power feature and how to use it in your music ASAP.
- Free downloads: Ableton Live 10 project files, custom Racks and presets are all yours with Warp 10.
- Warp 10 was created by our team of Ableton Certified Trainers and Live experts.
- Learn the new interface, effects and instruments.
- Discover how to flex the new keyboard shortcuts and workflow upgrades.
- Watch the BPM syncing reverb tutorial with free reverb pre-delay & decay time calculator.
- Add lush ambience to your tracks without washing things out.
- Learn the art of rhythmic reverb.
- As seen on Ableton.com
With the release of Ableton Live 10 we’ve got exciting new audio effects, workflows and power features. In this tutorial, I’m going to show you exacly how I use all of these capabilities in Live 10 to work with drum loops. You’ll learn how to really beef up and process drums to get them tight, punchy, in your face and cutting through your mix.
Here’s our Game Plan:
- We’ll start off by going to go over how to figure out the pitch of your drums so you know if they’re in key with your track
- Then how to repitch them into the frequency range you want
- We’ll cover how to tighten the drums up, getting rid of unwanted things like long decays and room noise
- We’ll use a Push 2 controller to show the editing process for individual drum slices
- Then we’ll get into how I separate the drums & bus them for processing
- Finally, I’ll we’ll cover how I process the kick, snare and hats, as well as the drum buss as a whole
Because this is going to go through my whole workflow and get in depth with multiple devices, just a heads up that this’ll be a longer tutorial.
Want to Skip to Something Specific in the Video?
0:00 Intro
1:23 Before & After Processing A/B Comparison of the Drum Loop
1:57 Detecting the Pitch of the Drum Loop with the Spectrum Audio Effect
4:07 Repitching & Tuning Drums in Live
5:27 Tightening the Drums to Eliminate Decay & Reverb with the Gate Audio Effect
6:31 Slicing the Drum Loop using Slice to New MIDI Track with “Create one slice per Transient”
9:04 Editing Drum Slices in Simpler Using the Ableton Push 2 Controller
11:57 Routing, Sub-Grouping & Bussing Drums in the Drum Racks Instrument
13:09 How to Create a Nested Drum Rack (aka Sub-Rack or a Rack within a Rack) for Drum Bussing
15:27 Processing the Drums
16:21 Processing the Hi Hats
17:49 Processing the Snare Rim Shot
18:22 Using Corpus on the Snare
19:41 Using Drum Buss on the Snare
21:35 Processing the Kick
21:43 Using Corpus on the Kick
23:06 Processing the Entire Drum Buss
23:49 Using Corpus on the Drum Buss
24:33 Using the New Drum Buss Audio Effect
25:43 A/B Comparison with Drum Buss Drive, Transient Shaping & Boom
26:11 Gain Staging & Putting the Subs into Mono with Utility Bass Mono
26:48 Using Reverb on the Drum Buss
27:53 BPM Syncing Reverb Tutorial with Free Reverb Pre-Delay & Decay Time Calculator
28:32 Recap & Review
29:01 Free Ableton Live 10 Course – Warp 10 by Ableton Certified Trainers
See our full privacy policy.


